
It can be frustrating when the Xfinity TV remote not working appears, such as the signal lagging, or the remote won't connect at all. These issues often show up at the worst possible moment. In today's guide, we'll break down the common causes and give you simple fixes to get your remote working again quickly.
Why Is my Xfinity TV Remote Not Working
When your Xfinity remote not working on TV, it usually boils down to a few common local issues. Knowing exactly what's causing the problem is crucial to getting it back up and running quickly.
Dead or Misplaced Batteries:One of the most common issues is simply weak or dead batteries. Even if the batteries are new, they might be inserted incorrectly. Always check the battery placement and try fresh ones before moving on to other fixes.Pairing Problems:Your Xfinity remote might not be properly paired with the Xfinity set-top box. This can happen after a reset or power outage. If the remote isn't talking to the box, none of the buttons will respond.Signal Interference:Nearby electronics or objects blocking the signal can interrupt the connection between your remote and the TV box. Try removing obstacles or turning off nearby devices to see if that helps.Software Glitches:Occasional software bugs in either the remote or the TV box can cause communication issues. Restarting both devices often clears up these problems quickly.Voice Remote Issues:If you're using a voice remote, the microphone might not be working, or the voice feature could be turned off. Make sure the voice control is enabled and test the mic with a simple command.TV Sync Issues:Sometimes the remote works fine with the cable box, but it isn't synced with your TV. This means it won't control power or volume. Reprogramming the remote usually solves this.
9 Fixes - Xfinity Remote Not Working with TV
There are six reliable ways to address the TV remote not working Xfinity. Before diving in, it's important to remember that you should try these steps one by one to isolate the issue. This methodical approach will help you avoid wasting time or making unnecessary changes.
#1. Check or Replace the Batteries
Before diving into more complex fixes, it's always a good idea to start with the simplest solution: checking the batteries. A drained or faulty battery is often the root cause of an unresponsive remote.
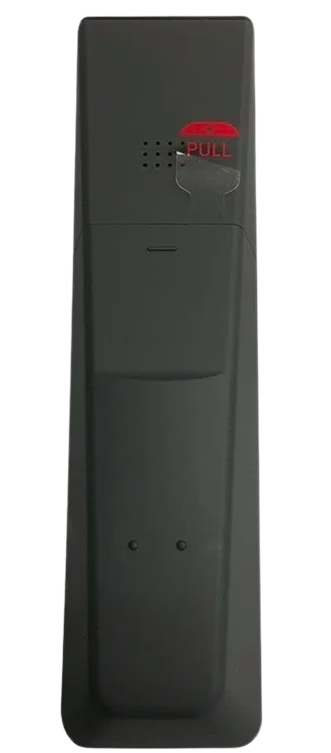
Step 1. Flip the Xfinity remote over and open the battery compartment at the back.
Step 2. Take out the old batteries and check for any signs of leakage or corrosion around the terminals. This could prevent the remote from working properly.
Step 3. Use new AA or AAA batteries, making sure they're inserted the right way (matching the + and - symbols).
Step 4. Snap the cover back on, then try pressing some buttons to see if it works. You should note that even new batteries can sometimes be faulty. If the remote still doesn't respond, try swapping in a different set to rule out battery issues.
#2. Power Cycle the Remote and Your TV
Sometimes, the Xfinity remote not working for TV issues might not be with the remote itself, but with a temporary glitch in the system. Power cycling both the remote and your Xfinity box can help clear out any bugs or signal delays. Follow these steps:
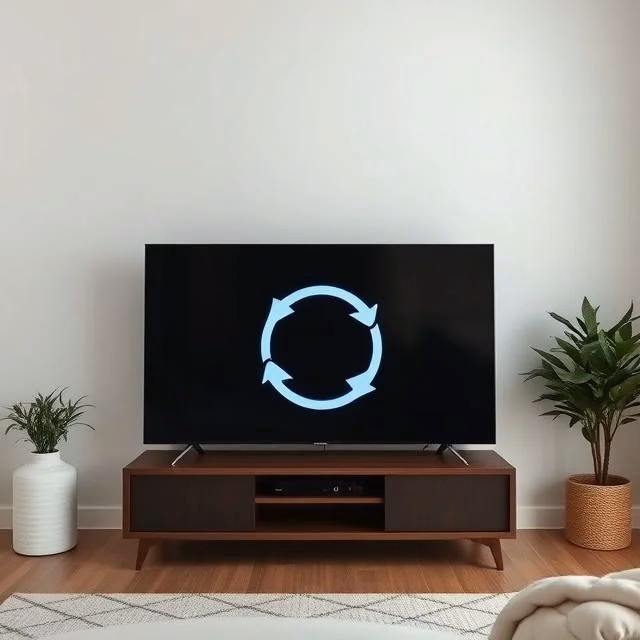
Step 1. Power down your TV and unplug the Xfinity box from the wall to fully reset it.
Step 2. Take the batteries out of the remote to make sure it's not receiving any residual signals.
Step 3. Give it about 60 seconds to reset. This helps clear out any temporary bugs.
Step 4. After 60 seconds, plug the Xfinity box back into the wall and power it on.
Step 5. Put the batteries back in and power on both your remote and TV. Check if the Xfinity remote is now syncing properly with your set-top box.
#3. Check for Obstructions or Interference
Before troubleshooting my Xfinity TV remote is not working further, it's a good idea to check for anything that might be blocking the signal between your remote and the devices. Signals can be disrupted by even small objects, so it's worth taking a moment to ensure there are no obstructions in the way.
Step 1. Ensure there's nothing in front of your TV or cable box that might be blocking the signal. This includes furniture, boxes, or anything else that could get in the way.
Step 2. Items like speakers, large game consoles, or routers could interfere with the signal, so move them out of the line of sight.
Step 3. Try using the remote closer to the box to see if range might be the problem.
Step 4. If you have a spare remote, try using it to check if the issue is with the original remote.
Step 5. Some materials, like thick walls, metal, or even mirrors, can block or interfere with infrared (IR) or radio frequency (RF) signals.
#4. Re-Pair the Xfinity Remote with the TV
Why is my Xfinity remote not working on my TV? If the signal or connection issues persist, it's a good idea to re-pair your Xfinity remote with your TV. Sometimes, a fresh connection is all it takes to restore full functionality.
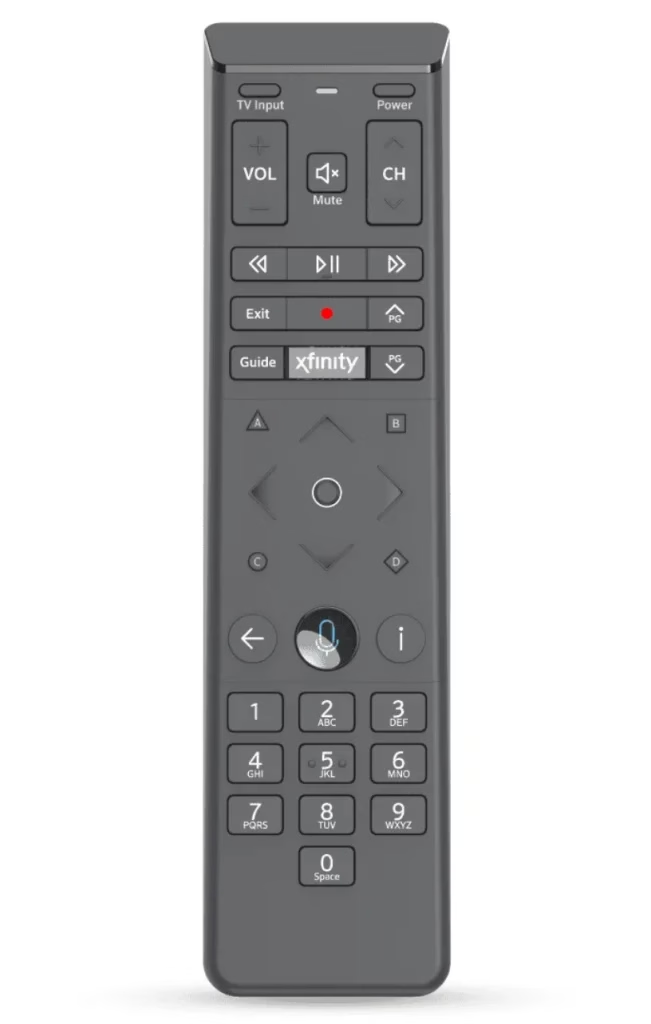
Step 1. Press and hold the Setup button on the remote until the LED light turns green.
Step 2. Enter the code 981 to erase any previous pairings between the remote and the box.
Step 3. Press and hold both the Xfinity and Info buttons at the same time.
Step 4. The TV will guide you through the process to complete the pairing. Just follow the instructions displayed.
Step 5. Once paired, test out the volume and power buttons to make sure everything is working properly.
#5. Clean the Remote's Sensor and Buttons
Over time, everyday use can cause your Xfinity remote to pick up dust, dirt, or even food crumbs, which can block signals or make buttons harder to press. Quick cleaning can make a world of difference and restore your remote's performance.
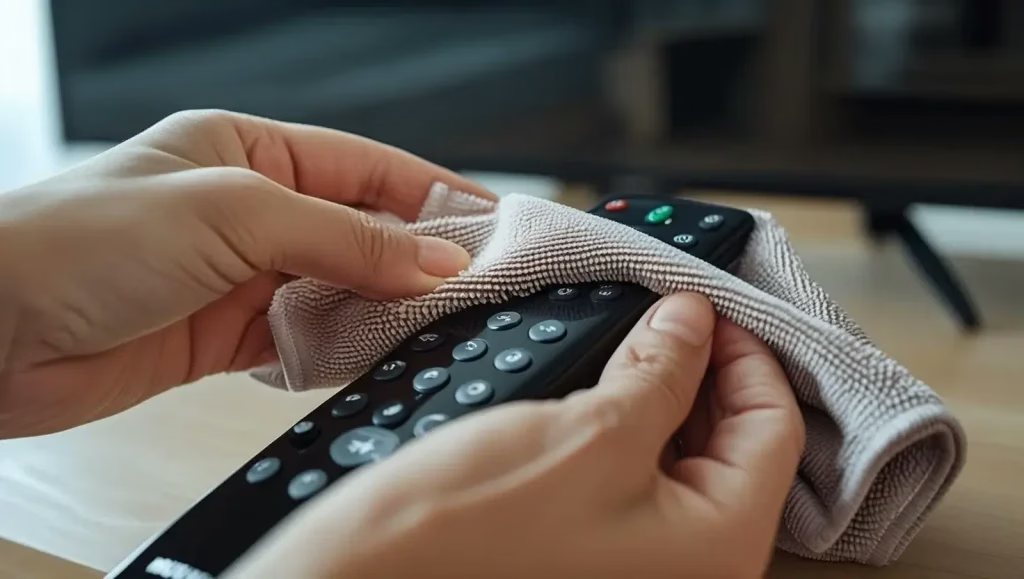
Step 1. Use a soft, dry cloth to gently wipe the front sensor of the remote to remove any dust or smudges.
Step 2. Press each button a few times to loosen any dirt or grime that might have built up underneath.
#6. Reset the Xfinity Remote
If you're still having issues, resetting your Xfinity remote can usually fix the problem, especially if there are any corrupted settings. The steps to reset your remote can vary depending on the model, so here we'll walk you through the process for the XR16 remote.
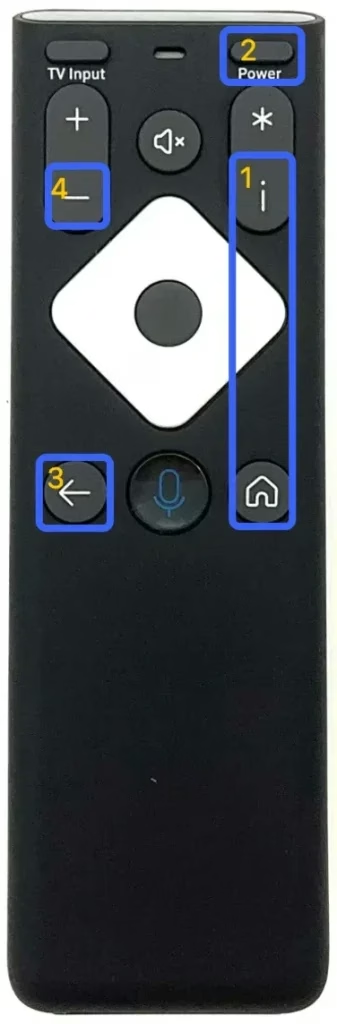
Step 1. Press and hold the Info (i) and Home buttons at the same time for five seconds until the remote's status light blinks.
Step 2. Press the Power, Last, and Volume Down buttons on the XR16 remote.
Step 3. When the LED on the remote blinks three times, this indicates Xfinity XR16 remote reset is successful.
Step 4. After the reset, you'll need to go through the pairing process again to sync the remote with your Xfinity box.
#7. Check Your TV Input Settings
If your Xfinity remote is working but not controlling your TV, the issue might be as simple as the wrong input setting on your TV. Here's how to make sure everything is set up correctly:
Step 1. Make sure your TV is set to the correct input (HDMI, AV, etc.) that matches the connection to your Xfinity box. You can usually find the input settings through the TV menu.
Step 2. If you're not sure which input is correct, use the physical buttons on your TV or another remote to cycle through the available inputs until you find the one connected to your Xfinity box.
Step 3. Double-check that your Xfinity box is powered on and all cables are securely connected. If the box is off or disconnected, your remote won't be able to control it.
#8. Update Your Xfinity Box Firmware
Outdated firmware on your Xfinity set-top box can sometimes cause remote issues or delays in responsiveness. Updating your box's firmware can resolve many remote-related issues and ensure your system is operating with the latest features and improvements.
Step 1. Navigate to your Xfinity box settings or log in to your Xfinity account to see if there are any available software updates.
Step 2. If an update is available, follow the on-screen prompts to download and install it. The update process usually only takes a few minutes.
Step 3. Once the update is complete, restart your Xfinity box to ensure that everything is running smoothly with the new firmware.
#9. Use a Universal Remote App
If none of these solutions work to get your Xfinity remote back on track, don't worry, you can still control your TV with a free universal control app. This app lets you use your mobile device to control your TV or streaming device via IR or Wi-Fi, so you can keep enjoying your shows without missing a beat.
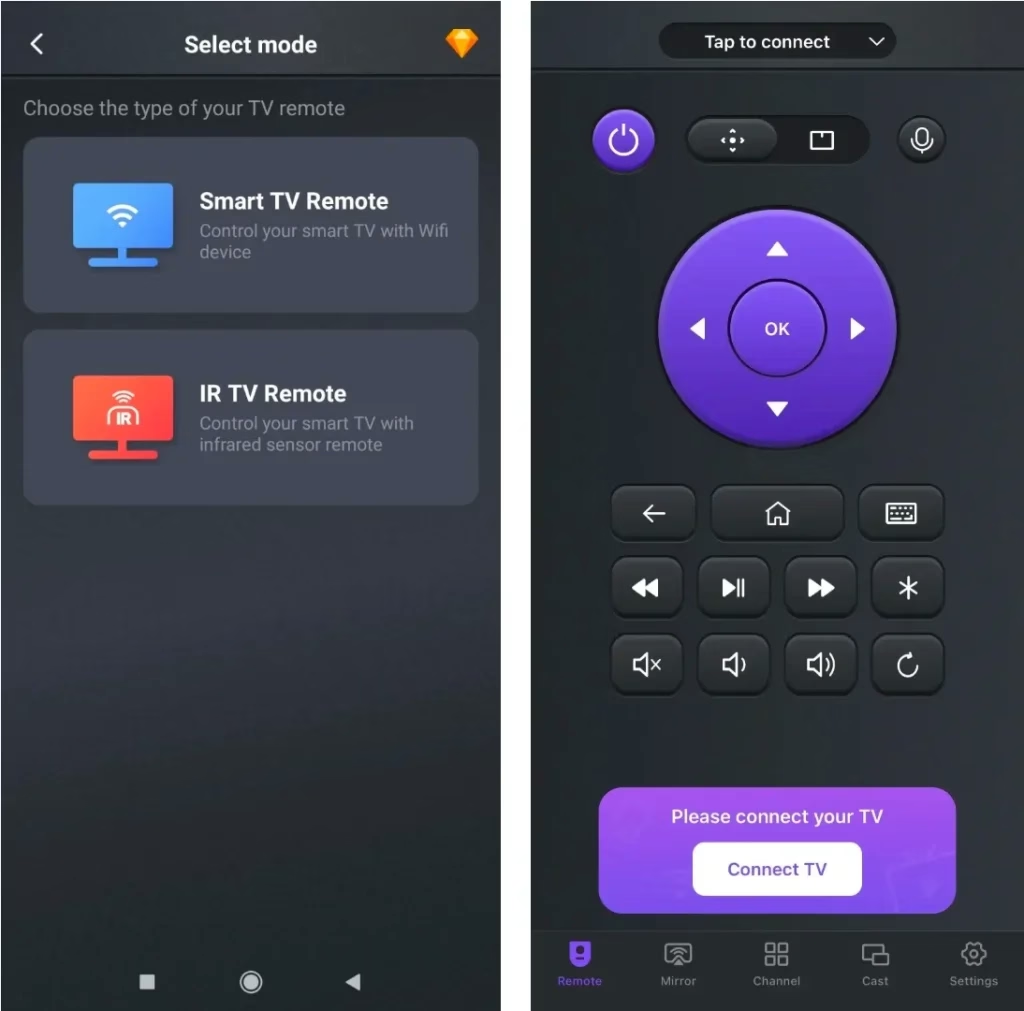


Step 1. Install the virtual TV control on your mobile device, such as a smartphone or tablet. Ensure your devices are connected to the same WiFi network (or you can use the IR feature).
Step 2. Launch the application, tap "Tap toConnect" or "Connect TV" to choose your TV or streaming device to pair with.
Step 3. When pairing succeeds, you can use the universal remote app to control your device as the Xfinity remote.
Closing Words
What can I do when my Xfinity remote is not working on my TV? From something as basic as replacing old batteries to more involved steps like resetting or pairing the device, each method we covered targets a specific issue. By following the fixes step-by-step, you'll have the best chance at restoring your remote quickly and with minimal effort.
Xfinity TV Remote Not Working FAQ
Q: Why is my Xfinity remote not responding?
Your Xfinity remote might not be responding due to several reasons, such as a drained battery, a blocked signal, incorrect input settings on your TV, or outdated firmware on your Xfinity box. It could also be caused by dirt or debris on the remote sensor or buttons. Try checking these factors to see if they resolve the issue.
Q: How do I reset an Xfinity remote?
Info (i)andHomebuttons at the same time for five seconds until the remote's status light blinks. - Press the
Power,Last, andVolume Downbuttons on the XR16 remote. - When the LED on the remote blinks three times, this indicates Xfinity XR16 remote reset is successful.